|
|
Post by SKR on Nov 5, 2008 18:01:21 GMT -7
Shimming the Armature Place your motor assembly on top of the chassis. Make sure your pick up shoe holders are out of the way. When you push the Motor assembly down in the chassis you need to make sure the rear bushing is lined up to drop back into position in the chassis. This picture is not the same car. There's no pinion gear on this one. 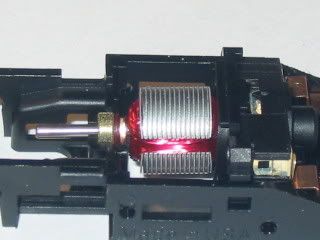 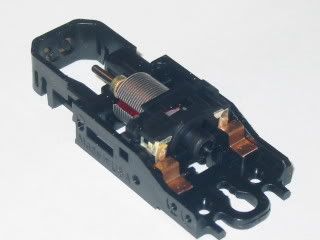 Once the motor assembly is in place. Take your finger and check the slop in the armature's by moving it forward and rearward. If there is slop then take your red washers off of your old armature and place them on your new one. Taking slop out helps in two ways. When power is applied the armature will move taking up a little energy that could of gone directly to the gears. How much? probably not measurable but still enough for me to want to shim the armature as much as possible. Also if the armature is not shimmed then the motor brushes will ride back and fourth on the commutator. I feel it's best to keep the brushes riding in one spot. Shimming requires you to take the motor assembly in and out a few times to get the right amount. Make sure your armature turns freely and has a little back and fourth play. 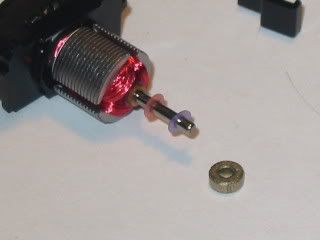 |
|
|
|
Post by SKR on Nov 5, 2008 18:06:46 GMT -7
Installing the motor for the final time Install your motor magnets. The magnet with white paint on it goes on the passenger side of the chassis. 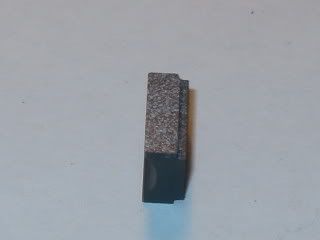 Same method as before but you have magnets to put in place with the rest of the motor assembly 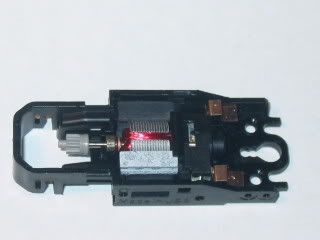 |
|
|
|
Post by SKR on Nov 5, 2008 18:26:07 GMT -7
Pick Up Shoes/ Shunts Install your pick up springs and pick up shoes. Cut your shunt wire to length. Install one side through the pick up shoe and loop the wire through. 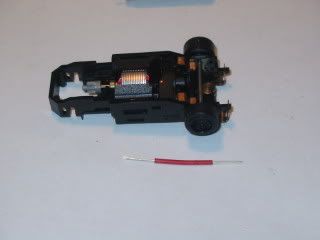 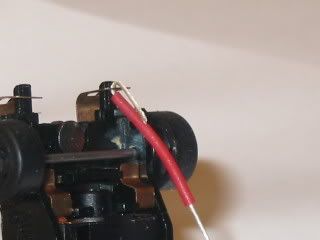 Twist the end 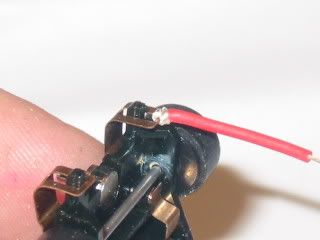 Place the other end between the Endbell and pick up shoe holder. I use a toothpick or a dull X-Acto knife to push it down between the two. 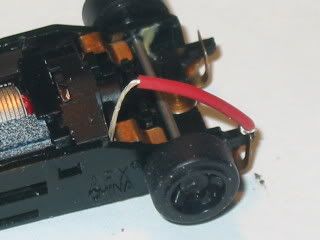 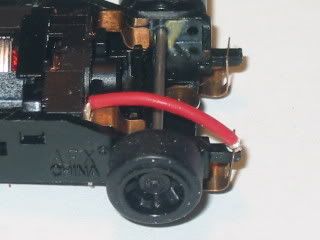 |
|
|
|
Post by SKR on Nov 5, 2008 18:27:08 GMT -7
I have a few more things to post tomorrow. Hope this is helpful for the newbies.
|
|
|
|
Post by Demon340 on Nov 5, 2008 18:47:11 GMT -7
Hey SAM
Your tips and info on MM/PS Build up was very good it should
be a fun car to build and race.
TOM
|
|
|
|
Post by da big ragu on Nov 5, 2008 19:25:15 GMT -7
 yeah this really helps thanks i will have quesstions as i don't have a puller press but i will go at it .
|
|
|
|
Post by Demon340 on Nov 5, 2008 20:06:59 GMT -7
Ragu
A five pound hammer will work good as a press for your cars
one good smack should do the job. ;D
DEMON 340
|
|
iowajeff
Pro Stock
   Jeff Sandage- Iowa
Posts: 114
|
Post by iowajeff on Nov 5, 2008 21:33:11 GMT -7
First class and very helpful, like always Sam.
iowajeff
|
|
|
|
Post by da big ragu on Nov 5, 2008 22:03:37 GMT -7
 yeah thats what i was going to use and if anything goes wrong i have duct tape ;D
|
|
|
|
Post by Demon340 on Nov 6, 2008 4:59:53 GMT -7
Hey RAGU Make sure you use super glue on all moving parts on your cars. DEMON 340  |
|
|
|
Post by rapidrichard on Nov 6, 2008 6:26:29 GMT -7
Sam your mm/ps building tips are great,you went all out to show us all how to build it right the first time,and the right parts first time  :)can't wait till test and tune,were going to have a lot of fast cars there    Richard |
|
|
|
Post by SKR on Nov 6, 2008 6:28:37 GMT -7
Wheel Press and Puller This is a much easier way of pulling off wheels and pressing on gears to you rear axle. Ragu, if you can't get the wheels and gear on then go ahead and send it apart and I'll get them on for you for the race. Same goes for anybody else having problems. If your just getting into racing then check out these tools. They will save you some pain for your fingers as well as some frustration. I show a press and puller from Lucky Bob's. There are other pullers and presses floating around the web. Do a google search for HO Slot car wheel press and puller and see what you come up with. Pulling the rear wheels. This is a wheel puller from Lucky Bob's part #LB 2001 HO Gear & Tire Puller 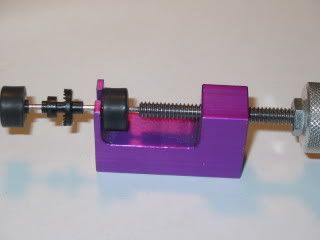 After both wheels are off I put the axle in the press and push the stock gear over as much as possible with part #LB 2000 HO Gear & Tire Press then use the puller to finish the job. 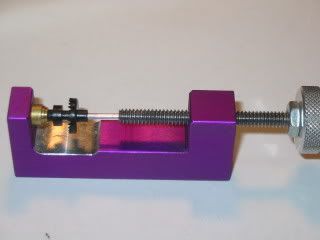 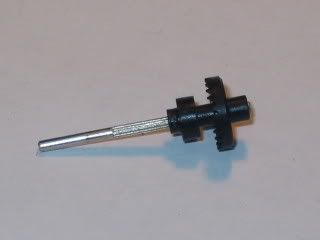 Final pull to get the stock gears off 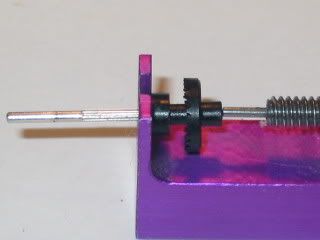 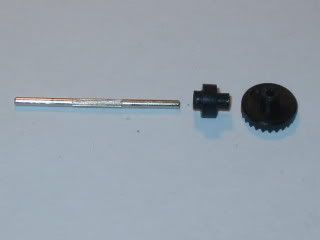 Take your new 22 Tooth Crown Gear and press it on your axle 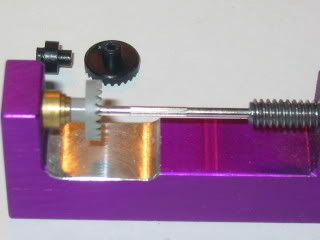 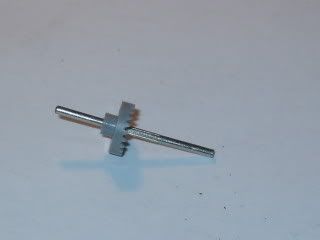 T |
|
|
|
Post by SKR on Nov 6, 2008 7:02:22 GMT -7
Slamming the body One thing that sets HO Drag Racing from 1/24 Drag Racing is the realism of the cars. Without a doubt the 1/24 cars look more realistic with the slammed look and the better selection of wheels. To give my cars more of a true 1/1 stance I trim the traction magnets so I can get my wheels closer to the chassis. This will allow the body to be lowered. Here is how the traction magnets look stock. 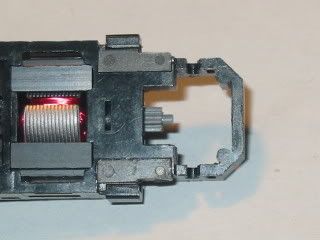 The top magnet has been shaved down with a straight file. Not hard to do at all. Only takes a minute. 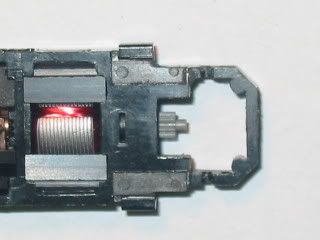 Slammed 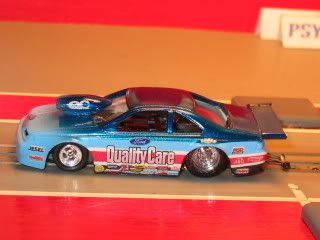 Stock mounting position 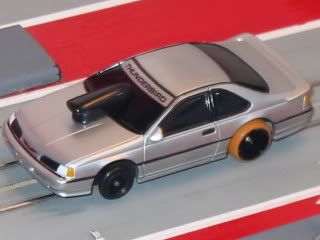 I also trim off the nipple on the back of the rear wheels. Of course body mounts have to be modified. This will be covered in another thread. Slamming your car isn't necessary to run this class. |
|
|
|
Post by SKR on Nov 6, 2008 7:20:10 GMT -7
Cleaning up old parts I know a few of you guy shave told me that you purchased cars off of Ebay just for this race. One thing you can do to clean up the electrical parts that contact one another is use a soft bristle wire brush on your Dremel. Clean the pick up shoe hangers where the pick up shoe springs touch and where the pick up shoe hangs. These hangers have been thrashed but they cleaned up nicely. Also clean where the pick up spring rides on top of the pick up shoe and don't forget to use shunt wires. The one on the left was cleaned as described above. 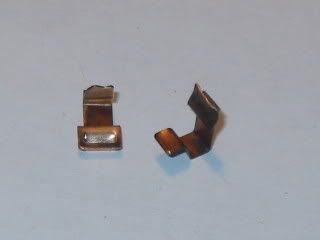 |
|
|
|
Post by da big ragu on Nov 6, 2008 10:14:36 GMT -7
 thanks sam i looked at the ones on bob's site and will pick them up not shure when are they the same as the one's you use one of your's look's modified and do these pull press any tire rim gear on all types of cars tejet ect... if i need help for now till i get them i will let you know thanks sauce king da big ragoooo .
|
|